HighScream Brass
Elevate your sound with our handcrafted brass instruments.
Rated 5 stars
★★★★★
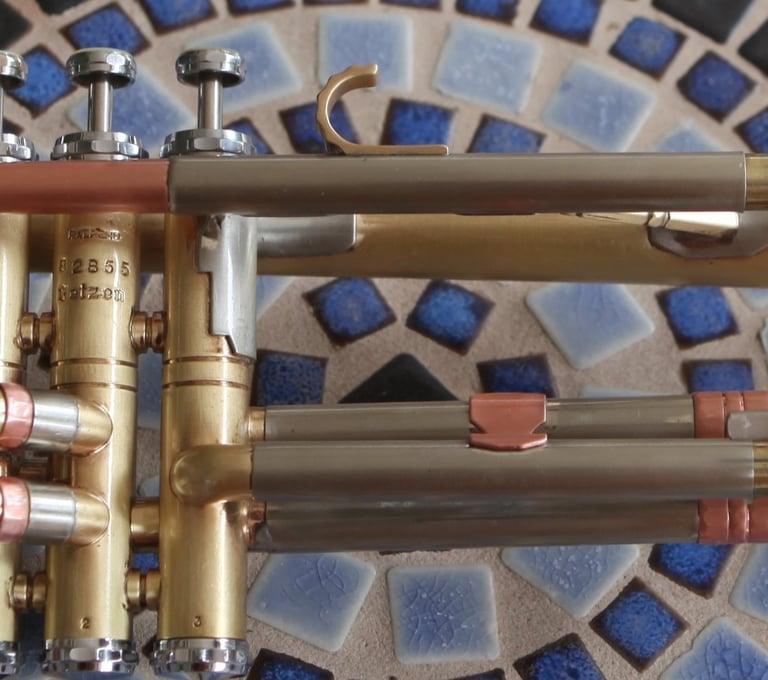
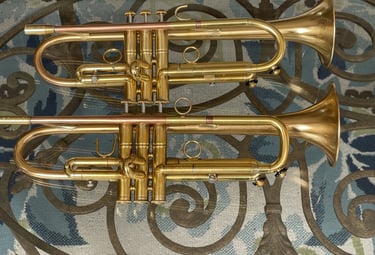
Venturi Trumpet Characteristics


YOUR sound Concept
This is where we begin, so tell us your adjectives: bright, dark, fat, warm, broad, spread, focused, clear, dirty, sizzle, small core, projection, versatility...
Custom and tailored designs
Tuned Resonance
Optimum resonance is the key to achieving the ultimate sound and provides essential feedback to the artist during performance. A resonant sound can be "dark" sounding, but never dull
Optimal Intonation
Engineered to provide accurate pitch centers, including for those traditionally difficult notes


Maximum Response
Control over note transitions take work to make them both sudden and subtle simultaneously. An instrument with optimum response makes it all the more pleasurable


Tailored Slotting
Huge note targets, easy to hit, yet stabile throughout the entire extended range of the instrument
Maximum Efficiency
All of these characteristics result in a musical instrument providing maximum efficiency that assists in execution while boosting endurance
Our Story
We seek what is possible regardless of the present state. We are inspired by the craft of the original makers. We endeavor to elevate their art.
Our Services
New and Used Instruments
Explore our latest collection of pristine brass instruments, ready to inspire.
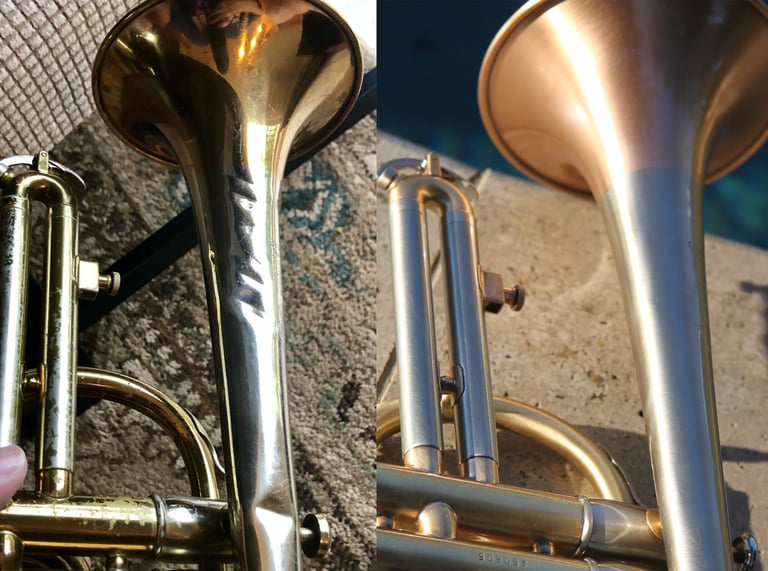
Venturi Custom Trumpets
Uniquely engineered to deliver customized performance in slotting, impedance characteristics, intonation and response.
ElderWind Leadpipes
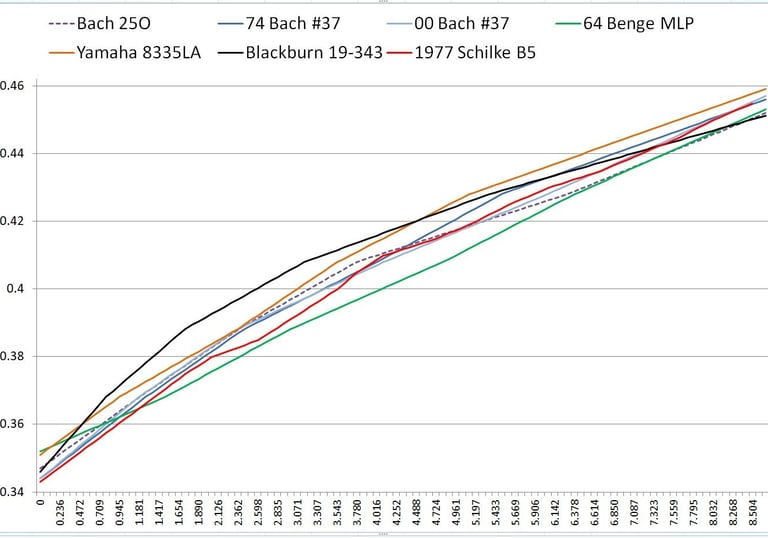
Starting with a deep analysis of traditional tapers, ElderWind leadpipes extend traditional boundaries to new levels of innovation enabling optimized resonance, intonation, response, slotting and endurance.
Get in touch
Reach out with any questions or custom instrument requests; we're here to help.